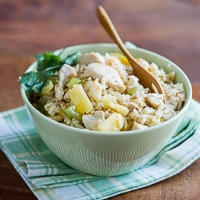
Chicken Pineapple Fried Rice
 Buy our air fryer e-cookbooks today
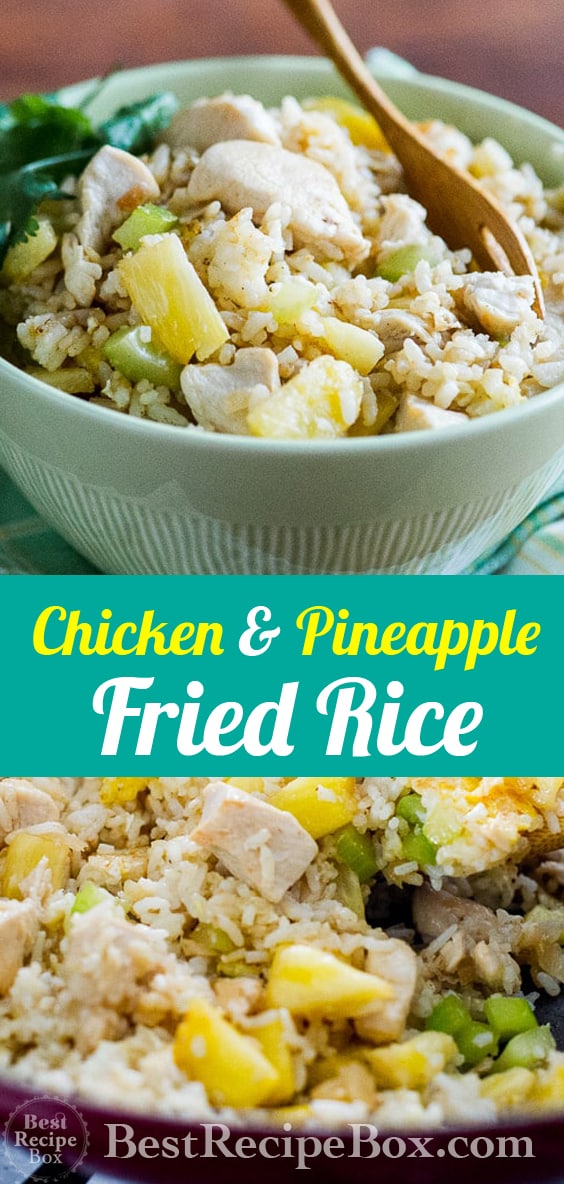
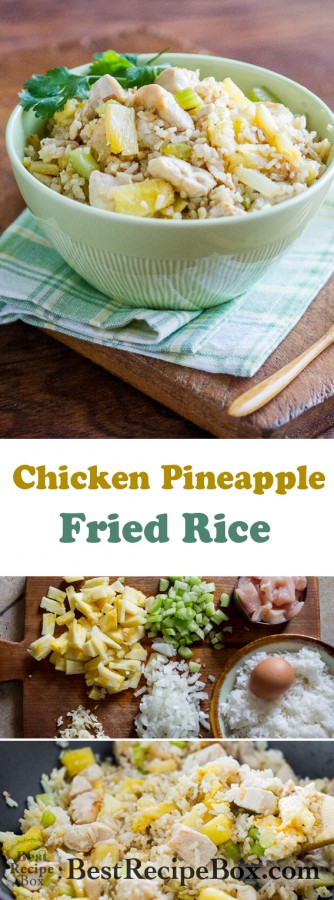
You’re going to love this fried rice recipe because chicken with rice and pineapple are a perfect pairing. A good fried rice recipe should great textures and textures in every bit. The fruity and savory chicken is a great balance of flavors. 
Easy Chicken Fried Rice with Pineapple
This chicken pineapple fried rice recipe has all those elements of crunch, savory and sweet. Fragrant chicken cooked with garlic and onions, combined with sweet juicy pineapple make this fried rice a crowd favorite. It’s hard to eat just one bowl, so be prepared to make a double batch if you have a hungry family. Some call it a Hawaiian fried rice recipe because of the fresh pineapple. We call it delicious. Kids love fried rice and this recipe is definitely on the top of their list because the pineapple is a nice sweet surprise in every bite.
More info here–> awesome Pineapple Corer and Slicer

Cooking Tip Use Day Old Rice for Recipe
When cooking fried rice recipes, it’s usually always helpful to have day old rice that’s been refrigerated. The rice is best when it’s cold, firm and easy to separate the kernals. You don’t want to have the rice too sticky, so fresh hot cooked rice will be more challenging to make a good batch of fried rice. This chicken fried rice recipe is perfect for days when you have left over rice. If you don’t have left over rice, try to make rice the day ahead of time and then refrigerate the rice. If you’re making this for a large group, you might want to double the recipe and use a very large pan. If you don’t have a large pan, then you can make it in two different batches. Either way, this awesome fried rice will be devoured and you might find yourself running out faster than you think!

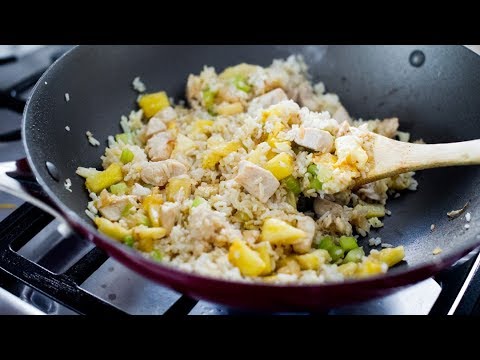
VIDEO: Chicken Pineapple Fried Rice:

How To Make Chicken Fried Rice Recipe with Pineapple
- Cook garlic, onions until fragrant
- Add chicken and cook until brown and cooked through
- Then Add celery and pineapple, cook for a few minutes then remove from pan and add oil, rice and egg.
- Pour in sauce and seasonings, cook until rice and eggs cook. Add pineapple and celery back to pan, season more if needed.
- all recipe photos details are below in the recipe box. Enjoy!
Check out different Pineapple Corers and Slicers:
These little gadgets make cutting up fresh pineapple so easy! For the super frugal, don’t waste the rinds and core, simmer them to with a little sugar water to make a refreshing pineapple beverage.:
 OXO Ratcheting Pineapple Corer – This is the pineapple corer we use and love the most. Comes in white or yellow. The ratcheting function is great, cuts a nice depth, and has a comfortable non-slip grip.
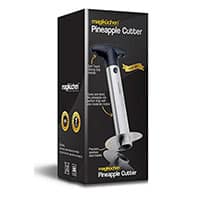 Magikuchen Pineapple Corer – A solid stainless steel pineapple corer. Another great option to have for your kitchen.
 Fruit Slicing Set of 5 – Pineapple, Melon Baller/Carver, Watermelon Slicer, Apple Corer, and Strawberry Huller. Perfect for the gadget obsessed!
Chicken Pineapple Fried Rice
Ingredients
- about 2 1/2 - 3 cups (loosely packed)(600-700ml) day-old cooked white rice , The rice kernels should be firm, separated and cold so that they aren't sticking together.
- 1 pound boneless chicken (breasts or thighs) , cut into small pieces
- 2 Tablespoons (30ml) cooking oil , divided
- 1 medium onion , chopped
- 3 cloves garlic , minced
- 1 cup (240ml) fresh pineapple , cut into small bite sized pieces (or canned pineapple, drained & cut in small pieces)
- 1/2 cup (120ml) sliced celery
- 1/2 teaspoon kosher salt
- 2 Tablespoons fish sauce (or soy sauce, but the fish sauce tastes better!)For Gluten Free use Tamari
- 1 large egg
- ground black pepper , to taste
Instructions
- (If using a non-stick pan, the 2 Tablespoons of oil should be enough. The rice sticks less to non-stick, thus using less oil.) In large non-stick pan, turn on medium heat, warm the pan, then add 1 Tablespoon of oil (save other half of oil for another step). Once oil is hot, add onions and garlic. Cook until translucent.

- Add chicken, cook for about 1 minute untnil chicken becomes brown. Then add pineapple, celery, salt and cook for about 2-3 minutes till chicken is fully cooked. Remove from pan and add mixture in medium bowl. Set aside.

- In same heated pan, add 1 Tablespoon of oil. Allow oil to get hot then add rice. If rice sticks too much, add a little more oil or water, 1 Tablespoon at a time.
- Cook and stir rice for about 2 minutes until it becomes hot. Add fish sauce and egg. Gently break up the egg in the rice, and mix egg in rice till it combines well into rice.
- Cook rice for about 1 more minute till egg becomes cooked, then remove any excess moisture from the chicken/pineapple mixture. Then add the chicken/pineapple mixture back into the pan with the rice.
- Continue cooking for about 3-4 more minutes until rice, egg and chicken/pineapple mixture are fully combined and cooked. Season with black pepper and/or salt to taste.
- Serve hot.


Video
Nutrition Information per Serving
This recipe was originally published in 2013 and re-published in 2019 with a new video and step by step photos!


2 Comments on “Chicken Pineapple Fried Rice”
The pineapples gives fried rice a really nice kick. The whole family loves this recipe!
Just the right amount of sweet/tangy/salty. Great suggestion to add pineapples to fried rice! I love it!